
Getting Started
Follow this checklist to connect your ProxyBox Zero and start printing.
In the box
Section titled “In the box”Check that you have:
- Your ProxyBox.
- Its power supply.
- A 4×6 test label, still on its backing, with your device address and password.
Bring an Ethernet cable — one is not included.
Connect
Section titled “Connect”- Plug an Ethernet cable into your ProxyBox and your router.
- Connect the power supply to the ProxyBox and a power outlet.
- Check for a red light glowing through the small hole on the back of the box. This means it has power. There is no power button.
- Wait a few minutes for your ProxyBox to start.
Open your ProxyBox Zero
Section titled “Open your ProxyBox Zero”Scan the QR code on the top sticker, or open https://pbx-ABCD.pbxz.cloud in your browser. Replace ABCD with the 4-character device ID on the sticker. You can open this address from any device on any network, including your phone.
When the login page loads, your ProxyBox is ready. If it does not load yet, wait a minute and refresh.
If the page doesn’t load
Section titled “If the page doesn’t load”- Is the red light on? If not, check the power supply.
- Are the Ethernet jack lights on or blinking? If not, check the cable and router port.
- Still stuck? Email [email protected] with your device ID.
Log in
Section titled “Log in”Enter the password from the 4×6 test label. It has the format XXXX-XXXX-XXXX, including the dashes.
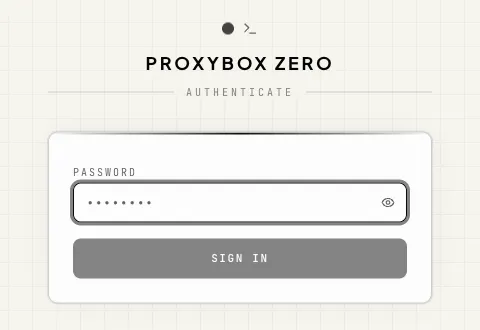
Change your password
Section titled “Change your password”Open Settings. Under Password, enter a password of at least 8 characters in New password… and enter it again in Confirm new password…. Select Update Password.

The page confirms the change and keeps your current browser session signed in. Every other session is logged out.
Set up a backup login
Section titled “Set up a backup login”- In Settings, find Recovery Code and select Show recovery code.
- Scan the QR code with the authenticator app you already use (Google Authenticator, Microsoft Authenticator, 1Password, Authy, or similar). If you can’t scan, copy the secret shown next to the QR code into your app instead.
- Select Hide recovery code.
From then on, if you forget your password, enter the current six-digit code from your authenticator app in the login Password field. Once you’re signed in, set a new password in Settings. See Recovery Code for details.
The admin dashboard
Section titled “The admin dashboard”After login you land on the admin page. From top to bottom it shows System Telemetry (collapsed), Settings, Network, and Printers, followed by the collapsed Print Queues (CUPS) and Agent Access (MCP) sections.
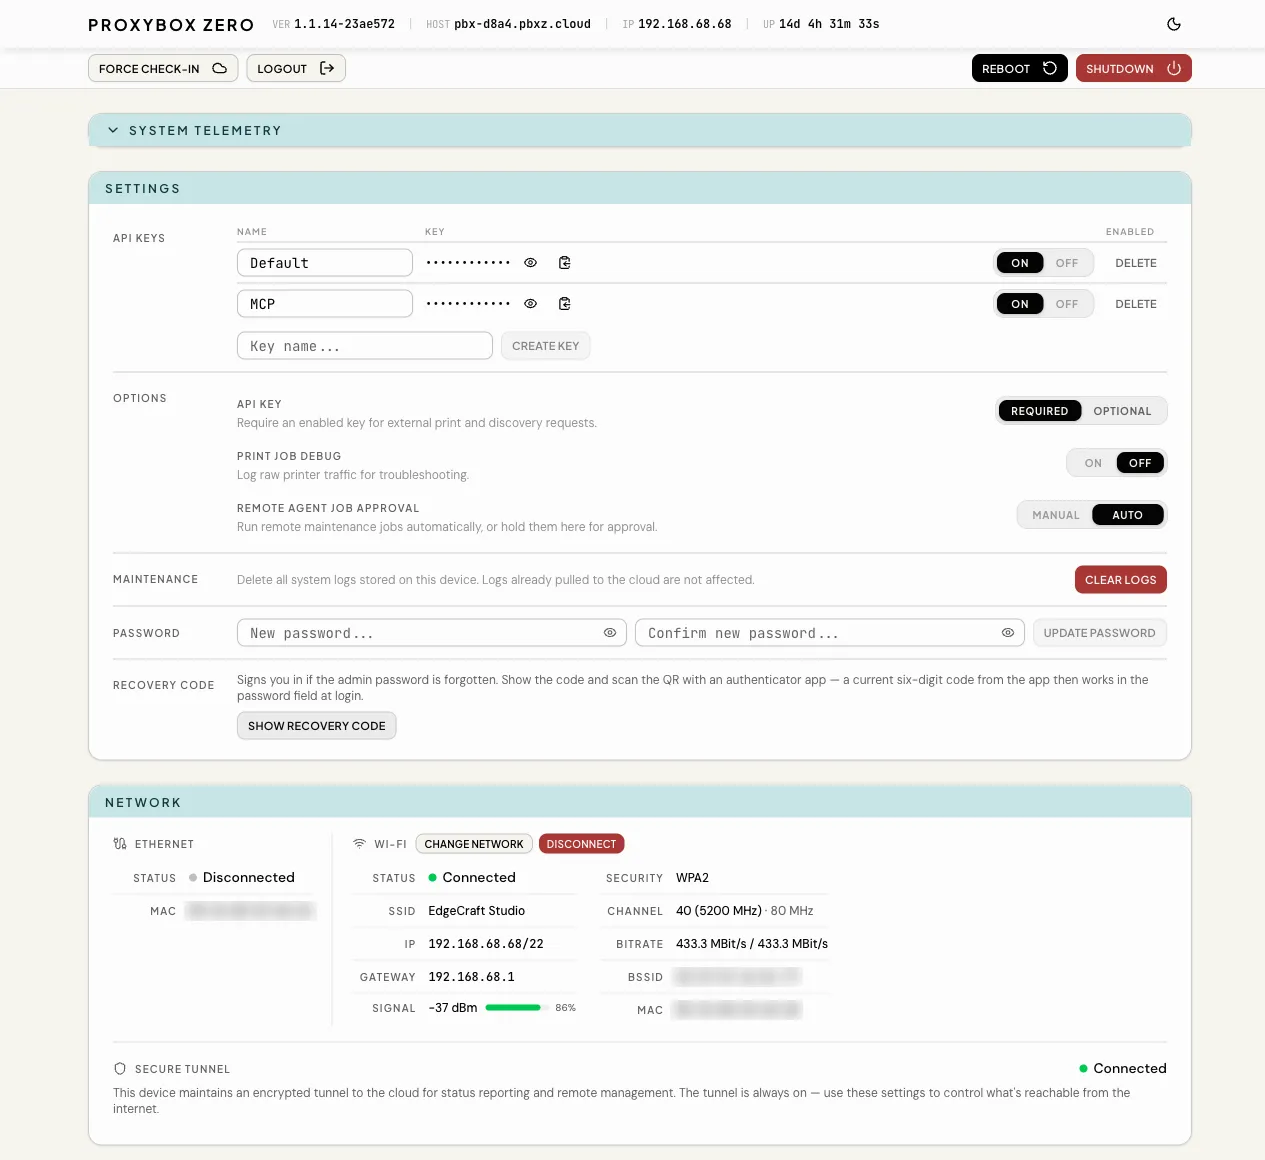
Header Bar
Section titled “Header Bar”
The header displays:
| Field | Description |
|---|---|
| VER | The release version currently running on the device. |
| HOST | Your ProxyBox’s address. |
| IP | The device’s local IP address. |
| UP | Time since the last reboot. |
Below it are Force Check-in (sync with the cloud now), Logout, Reboot, and Shutdown. Reboot and Shutdown ask for confirmation first. After a shutdown, unplug the power supply and plug it back in to turn the ProxyBox on again.
Connect your printers
Section titled “Connect your printers”- USB printers: plug them into your ProxyBox. They appear within a few seconds; no scan is needed.
- Network printers that advertise themselves: printers using mDNS/Bonjour are found automatically.
- Network printers that do not advertise themselves: select Add Network Printer and enter the printer’s IP address and port. This includes raw TCP printers, such as many Zebra printers on port 9100.
See Printers for printer management and scanning options.
Optional: switch to Wi-Fi
Section titled “Optional: switch to Wi-Fi”- On the admin dashboard’s Network card, select Configure Wi-Fi. If Wi-Fi is already configured, the button reads Change Network.
- Select Scan for Networks, then pick your network. For a hidden network, select Connect to hidden network and enter its name.
- Enter the Wi-Fi password and select Connect.
- Wait until Wi-Fi shows Connected, then unplug Ethernet.
Your .cloud address keeps working. Plugging Ethernet back in makes it the active connection again. See Network for connection status and Wi-Fi settings.
Test your connection
Section titled “Test your connection”Navigate to https://test.pbxz.io to run a quick test against your device. The test site prints from your browser through your ProxyBox’s local address, so open it from a computer on the same network as the box.
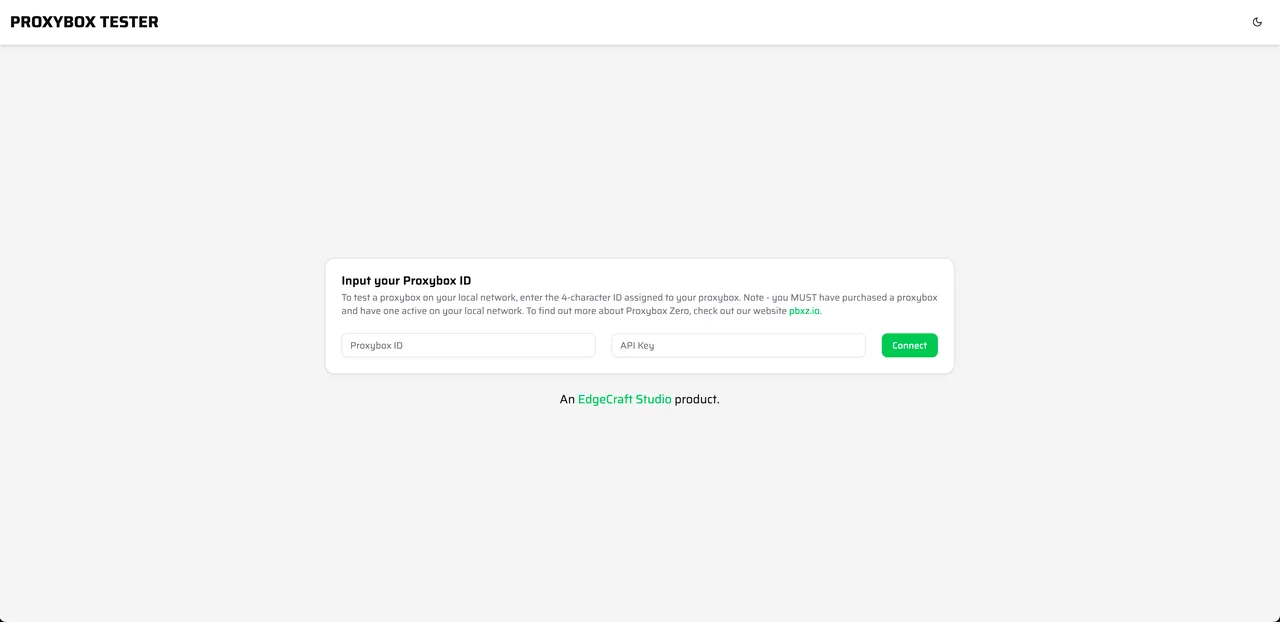
You’ll be asked for two values:
- ProxyBox ID — the same 4-character ID from the setup steps above.
- API Key — use an enabled key from Settings > API Keys. Reveal and copy the key there.

Enter both values and connect. The test page lets you view device status, see discovered printers, and send test prints — confirming everything is working before you integrate with your applications.
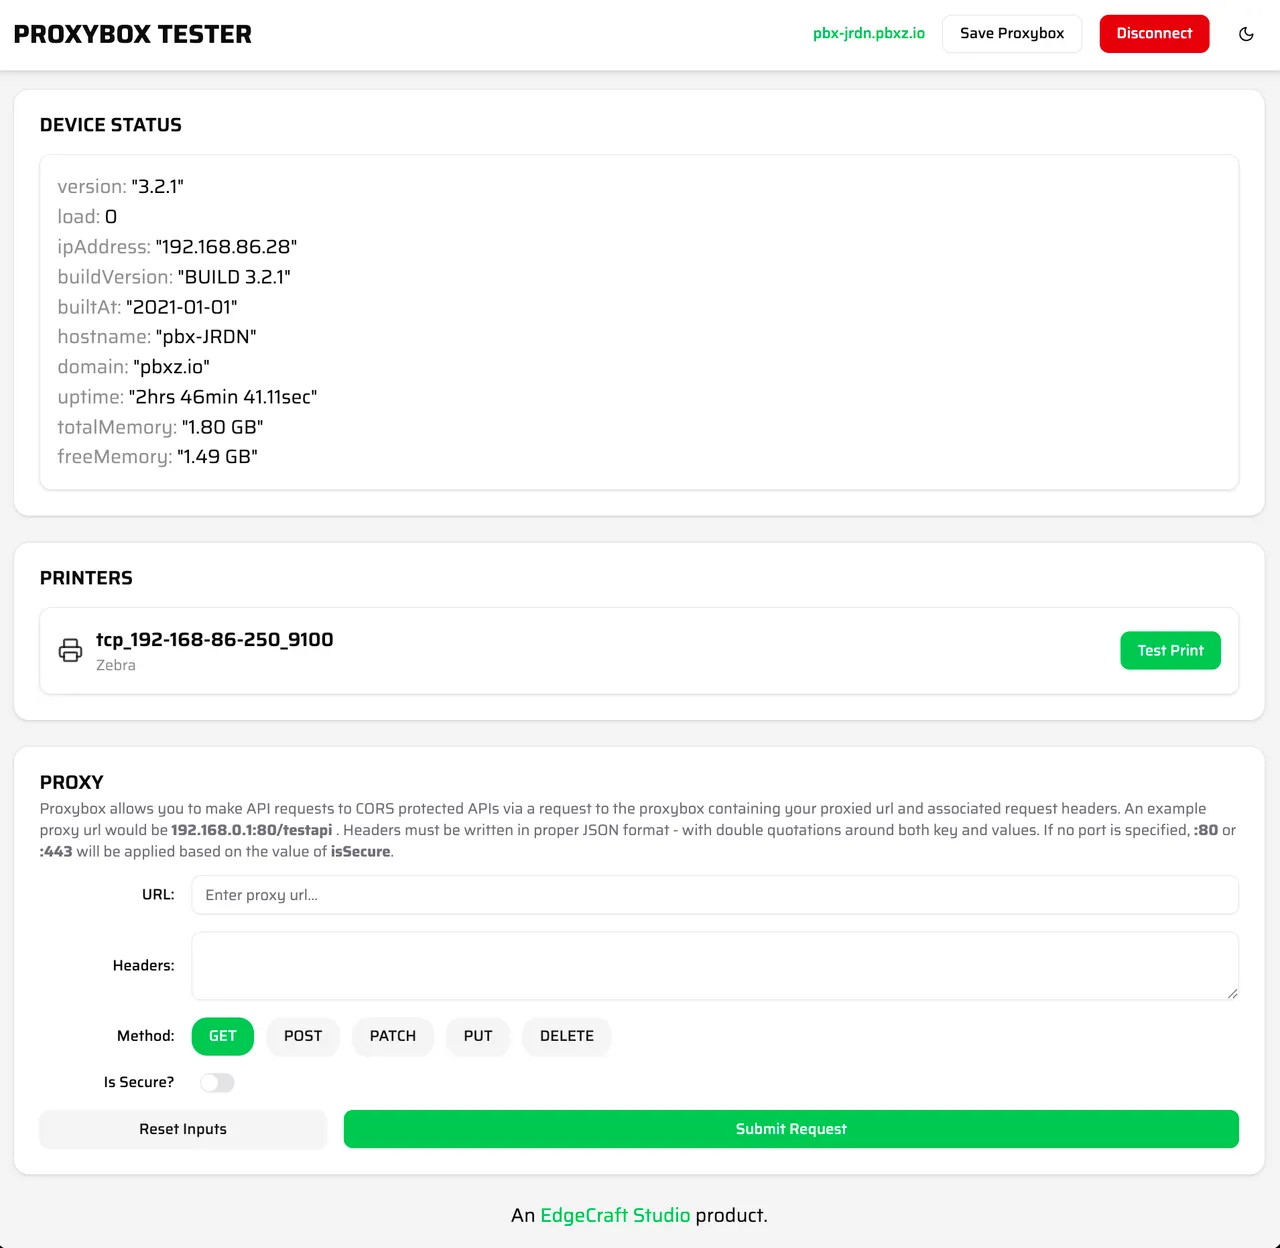
Your first API call
Section titled “Your first API call”Everything the test page does, your applications do through the REST API. Reveal and copy an enabled key from Settings > API Keys, then try it from a terminal (each ProxyBox ships with an enabled key named Default — the value below is an example):
# Device statuscurl https://pbx-ABCD.pbxz.cloud/api/v1/status \  -H 'X-API-Key: ULA9WHXMFCHF'
# List discovered printerscurl https://pbx-ABCD.pbxz.cloud/api/v1/printers \  -H 'X-API-Key: ULA9WHXMFCHF'
Pick a printer from the response — its path field is the print target — and send a test print:
curl -X POST https://pbx-ABCD.pbxz.cloud/api/v1/print/tcp_192-168-86-250_9100/test \ -H 'X-API-Key: ULA9WHXMFCHF'pbx-ABCD.pbxz.io is the local address, for browsers and on-prem services on the same network as the box; see Remote Access.
Next steps
Section titled “Next steps”- Tags — print to a role like
tag_LABELSinstead of a hardware path, so you can swap printers without changing code. Worth adopting from day one. - Printer Guides — format requirements and tips for Zebra, Brother, Epson, and office printers.
- API Reference — the full print API: content types, print options, job tracking.
ProxyBox Zero Docs v1.0.29